Best Digitized Embroidery Designs for Caps: Size, Detail, and Stitching Tips
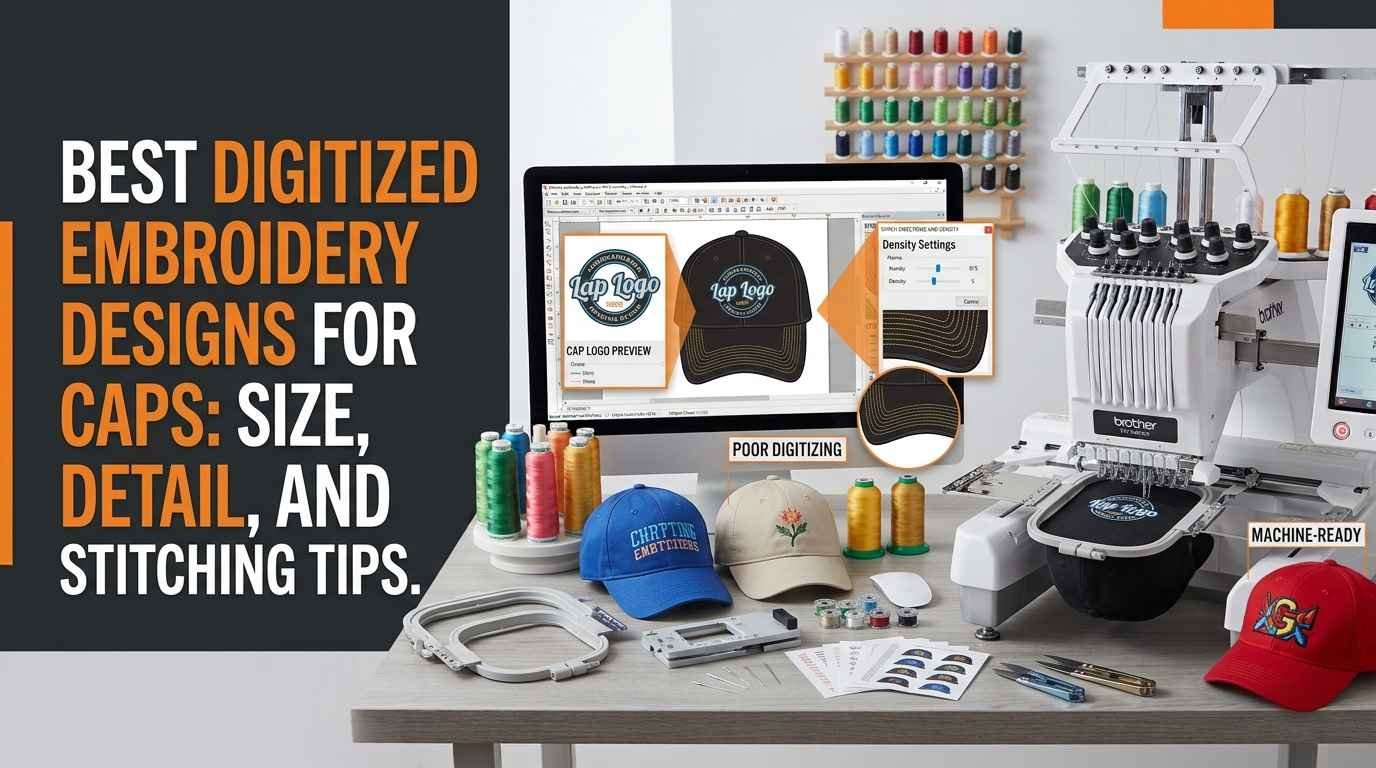
Choosing the best digitized embroidery designs for caps requires more than selecting an attractive logo or graphic. Caps have curved surfaces, limited embroidery areas, and structured panels that can affect how stitches form. A design that works well on a flat T-shirt may produce uneven lettering, distorted shapes, or excessive thread buildup when stitched on a cap.
Proper cap digitizing addresses these challenges by considering design dimensions, stitch direction, underlay, density, and the sequence in which the machine sews each section. Artwork may also need to be simplified so that small details remain readable on the finished cap.
Whether you are customizing promotional hats, creating embroidered caps for a clothing brand, or producing uniforms for customers, understanding these factors can help you choose suitable embroidery files and achieve more consistent results.
This guide explains how to select the best digitized embroidery designs for caps, prepare artwork, choose appropriate stitch settings, and avoid common stitching problems.
What Are Digitized Embroidery Designs for Caps?
Digitized embroidery designs for caps are machine-readable files created specifically for stitching artwork onto a cap. These files contain instructions for stitch placement, stitch types, sequencing, and other machine movements needed to reproduce a logo, name, symbol, or decorative graphic.
Unlike a JPG or PNG image, an embroidery file contains stitch information that compatible embroidery equipment can interpret.
Cap digitizing requires special attention because the embroidery surface is not flat. The front panel may curve around the wearer’s head, and structured caps can have a center seam that affects needle placement and stitch formation.
A suitable cap design accounts for the available embroidery area, the shape of the panel, the material, and the machine’s cap frame or hooping system. These factors help determine how the design should be constructed.
Why Cap Embroidery Requires Special Digitizing
Embroidery on caps can be more challenging than stitching on flat fabric. The curved surface and limited working area affect how the machine approaches the design.
Curved Surfaces Affect Stitch Formation
The front of a cap curves around the head, which means the fabric does not behave like a flat piece of material. During stitching, the cap may shift or resist the needle differently across various areas.
A design that has not been prepared for this surface may develop uneven outlines, gaps, or distorted lettering.
Cap-specific digitizing considers the design’s shape and stitch sequence to help manage these conditions. Proper cap framing, machine setup, and stabilizing methods remain equally important.
Center Seams Can Create Challenges
Many structured caps have a seam running down the center of the front panel. Stitching directly across this seam can be difficult because the material may be thicker and less flexible at that point.
Dense stitching or unsuitable stitch sequencing around the seam can contribute to needle deflection, gaps, or uneven coverage.
A digitizer may adjust the design’s placement, stitch direction, or construction to account for the seam. The appropriate approach depends on the cap style, design, and embroidery equipment.
Limited Space Requires Careful Design Choices
Caps generally offer less embroidery space than large garment panels. Tiny lettering, narrow lines, and intricate shapes may become difficult to reproduce clearly.
For this reason, successful cap designs often use readable lettering, defined shapes, and a practical level of detail. Simplifying artwork can improve the finished appearance without changing the main identity of the design.
How to Choose the Best Digitized Embroidery Designs for Caps
The best design depends on the intended cap style, artwork, placement, and finished size. Before selecting a file or ordering custom digitizing, evaluate the following factors.
1. Select a Suitable Design Size
Design size is one of the first details to confirm. A logo that is too wide or too tall may not fit the available front panel, while a design that is too small may make text and fine details difficult to read.
Measure the intended embroidery area and check the cap manufacturer’s specifications when available. The usable area varies according to cap style, frame, and machine.
Consider the following examples:
- Small front logos: Usually work best with simplified shapes and readable lettering.
- Large front graphics: Need careful planning around the cap’s curvature and any center seam.
- Side logos: Often require compact designs because the available area is narrower.
- Back logos or text: May need a different size and stitch plan from the front design.
These are general guidelines rather than universal dimensions. Confirm the actual embroidery area before preparing the file.
2. Keep Small Details Readable
Fine details that look clear on a computer screen may disappear when stitched on a cap. Thread thickness, fabric texture, and the small embroidery area all affect visibility.
Review the design at its actual size before digitizing. Pay particular attention to tiny letters, narrow gaps, thin outlines, and closely spaced shapes.
If the design includes a long tagline, consider whether it can be enlarged or simplified. In some cases, using the main logo without the smallest text will produce a clearer result.
The goal is to preserve the important elements of the artwork while ensuring that they can be reproduced with thread.
3. Choose Appropriate Stitch Types
Different elements require different stitch structures. Satin stitches are often used for lettering and narrow borders, while fill stitches can cover larger areas. Running stitches may be suitable for selected outlines or fine details.
For cap embroidery, the stitch type must also suit the dimensions and surface. Long satin stitches may be unsuitable for certain broad shapes, while densely filled areas can create unnecessary bulk.
A skilled digitizer evaluates the design rather than applying the same stitch type to every element.
4. Balance Stitch Density
Stitch density refers to how closely stitches are placed within a design. If the density is too high, the cap may become stiff, the needle may encounter resistance, or thread breaks may occur more frequently.
If density is too low, the fabric may show through the design or the coverage may look incomplete.
The correct density depends on the cap material, thread, stitch type, design dimensions, and stabilizing method. Structured caps, unstructured caps, and different fabric types may require different settings.
More stitches do not automatically produce better embroidery. A well-planned file uses enough stitches to provide appropriate coverage without unnecessary buildup.
5. Consider Stitch Direction and Sequencing
Stitch direction affects the texture and appearance of embroidery. On a curved cap panel, it can also influence how the design behaves during stitching.
A carefully planned stitch sequence can help manage movement and maintain the alignment of adjoining sections. For example, a design with several connected shapes may require a sequence that minimizes gaps and reduces unnecessary movement.
Center seams and panel curvature should be considered when planning the sequence. The correct approach depends on the artwork and the specific cap construction.
Best Types of Designs for Cap Embroidery
Some design styles are particularly suitable for caps because they can be adapted to limited embroidery areas.
<AsyncImageGroup query={[“embroidered minimalist company logo on structured baseball cap close up”,”embroidered bold lettering on baseball cap close up”,”embroidered simple monogram on cap front”,”embroidered sports emblem on baseball cap close up”]} aspectRatio=”5:4″ layout=”bento” numPerQuery={1} />
Logo Designs
Company and brand logos are common choices for embroidered caps. A good cap logo usually has clear shapes, appropriate spacing, and lettering that remains readable at the intended size.
If the original logo contains fine gradients or complex shading, a simplified embroidery version may be more practical.
Text and Lettering Designs
Names, team initials, business names, and short phrases can work well on caps when the font and dimensions are suitable.
Bold lettering is often easier to reproduce than very thin text, but the final choice should depend on the available space and the actual letter shapes. Spacing also matters because letters can become crowded when embroidered.
Monograms
Monograms use initials or a small group of letters to create a compact design. Their limited dimensions can make them suitable for cap fronts or side panels.
The digitizing should preserve the letter shapes and spacing without creating excessive thickness where strokes overlap.
Sports and Club Emblems
Sports teams, clubs, and organizations often use caps featuring symbols, numbers, and lettering. These designs may contain several adjoining elements, making stitch sequencing and color transitions important.
Small details may need to be simplified, especially when the emblem includes thin borders or miniature text.
How to Prepare Artwork for Cap Digitizing
Good artwork preparation helps the digitizer identify the important details and create a suitable stitch plan.
Start With Clear Artwork
Provide the highest-quality logo or graphic available. Vector artwork can be helpful because it often contains clean shapes that can be resized without pixelation. High-resolution raster images can also work well.
If the only available file is blurry, explain this to the digitizer. The design may require tracing, cleanup, or redrawing before it can be digitized accurately.
Specify the Cap Style
Tell the digitizer whether the design will be stitched on a structured cap, an unstructured cap, a trucker cap, or another style.
Different constructions can affect the available area, surface stability, and placement. Also mention whether the embroidery will go on the front, side, or back of the cap.
Confirm the Final Dimensions
Provide the desired width and height of the embroidery. Do not assume that a design will fit simply because it appears small in a digital preview.
If the cap has a center seam or a restricted embroidery area, share that information before digitizing begins.
Identify Important Colors and Details
Specify the intended thread colors and identify any elements that must remain unchanged. If the design contains small text or fine lines, ask whether these details are practical at the requested size.
Clear instructions help the digitizer make informed decisions and reduce the likelihood of avoidable revisions.
Common Cap Embroidery Problems and How to Reduce Them
Even a well-designed embroidery file requires suitable materials and machine setup. Understanding common problems can help you identify where adjustments may be needed.
Puckering or Distorted Fabric
Puckering may result from excessive density, poor cap framing, unsuitable stabilizing methods, incorrect tension, or a stitch plan that does not suit the material.
Check the cap’s placement and the machine setup before changing the file. If the problem repeatedly appears in the same design area, review the density, underlay, and sequencing.
Gaps Near the Center Seam
A cap seam can make it harder to achieve consistent coverage. If stitching does not account for the seam’s thickness and the fabric’s movement, small gaps may appear.
Cap-specific digitizing may help improve the stitch plan around this area. Correct framing and suitable machine settings are also important.
Thread Breaks
Thread breaks can be caused by needle problems, incorrect threading, excessive tension, poor-quality thread, or overly dense sections in the design.
Inspect the needle and thread path first. If breaks consistently occur in the same section, the digitized file may need to be reviewed for unnecessary stitches or unsuitable stitch construction.
Unclear Lettering
Lettering can become difficult to read when the font is too small, the spacing is insufficient, or the design contains thin strokes.
Review the lettering at its final size and simplify it where necessary. Increasing the design dimensions may help if the available cap area allows it.
Why Professional Cap Digitizing Can Be Helpful
Professional cap digitizing can be useful when a design contains small lettering, a center-seam logo, multiple colors, or detailed shapes that need to fit a limited embroidery area.
A digitizer can assess the artwork, select appropriate stitch types, plan sequencing, and adjust the design for the cap’s intended placement. They may also recommend simplifying certain details to improve readability.
When comparing digitizing providers, review examples of cap embroidery work, confirm supported file formats, and ask about revisions and turnaround time. Share the cap style, intended placement, and final dimensions before placing an order.
Remember that professional digitizing is only one part of the process. Correct cap framing, a compatible cap driver or frame where required, suitable needles and thread, and proper machine settings are also necessary for reliable results.
How to Test a Cap Embroidery Design Before Production
Testing the file before producing a large quantity of caps can help identify problems early.
First, confirm that the design fits the intended embroidery area and that the file opens correctly on the machine. Prepare the cap according to the equipment manufacturer’s instructions and secure it properly in the cap frame.
During the test, check the lettering, borders, coverage, color transitions, and alignment around the center seam. Look for thread buildup, gaps, distortion, and repeated thread breaks.
If the design does not stitch as expected, determine whether the issue comes from the file, cap construction, framing, or machine settings. Adjust the relevant factor and test again.
For repeat orders, keep a copy of the approved embroidery file and record the successful production settings. This can help maintain consistency across future batches.
Conclusion
The best digitized embroidery designs for caps combine suitable dimensions, readable details, balanced stitch density, appropriate stitch types, and a sequence planned for the cap’s curved surface. Artwork preparation and file compatibility are also important when creating a design that can be stitched reliably.
Before production, confirm the cap style, embroidery area, and final design size. Test the file on the intended material and check for lettering clarity, gaps, and fabric distortion before embroidering a large order.
For businesses and individuals seeking professional support with cap logos and machine-ready embroidery files, ZDigitizing.net can be considered when comparing embroidery digitizing services for different cap styles and design requirements.
Frequently Asked Questions
Q1: What makes the best digitized embroidery designs for caps?
The best designs have suitable dimensions, readable lettering, balanced stitch density, appropriate underlay, and stitch sequencing that accounts for the cap’s curvature and construction.
Q2: What is the best size for a cap embroidery design?
There is no single size suitable for every cap. The correct dimensions depend on the cap style, available embroidery area, frame, and design. Measure the intended area before digitizing.
Q3: Can I use the same embroidery file for caps and T-shirts?
Sometimes, but the same file may not perform equally well on both. Caps have curved surfaces and different stabilization requirements, so a separate cap-specific version may be necessary.
Q4: Why does my cap embroidery have gaps near the center seam?
The seam may affect fabric movement and stitch formation. The cause can involve the digitizing, cap framing, stitch sequence, or machine setup. Review these factors before adjusting the design.
Q5: Which stitch types work well for cap embroidery?
Satin stitches are commonly used for suitable lettering and narrow shapes, while fill stitches cover larger areas. Running stitches can be used for selected fine lines. The correct choice depends on the design’s dimensions and material.
Q6: Why is small text difficult to embroider on caps?
Small letters contain narrow strokes and openings that may become difficult to reproduce with thread. Enlarging or simplifying the text and adjusting the spacing can improve readability.
Q7: Which file format should I use for cap embroidery?
Use a format supported by your embroidery machine, such as DST, PES, JEF, EXP, or another compatible format. Check your machine’s documentation before requesting the file.
Q8: Should I test a digitized cap design before placing a bulk order?
Yes. A test sew helps evaluate lettering, coverage, alignment, and stitching around the cap’s seams. It also allows you to identify issues before producing multiple caps.





Post Comment